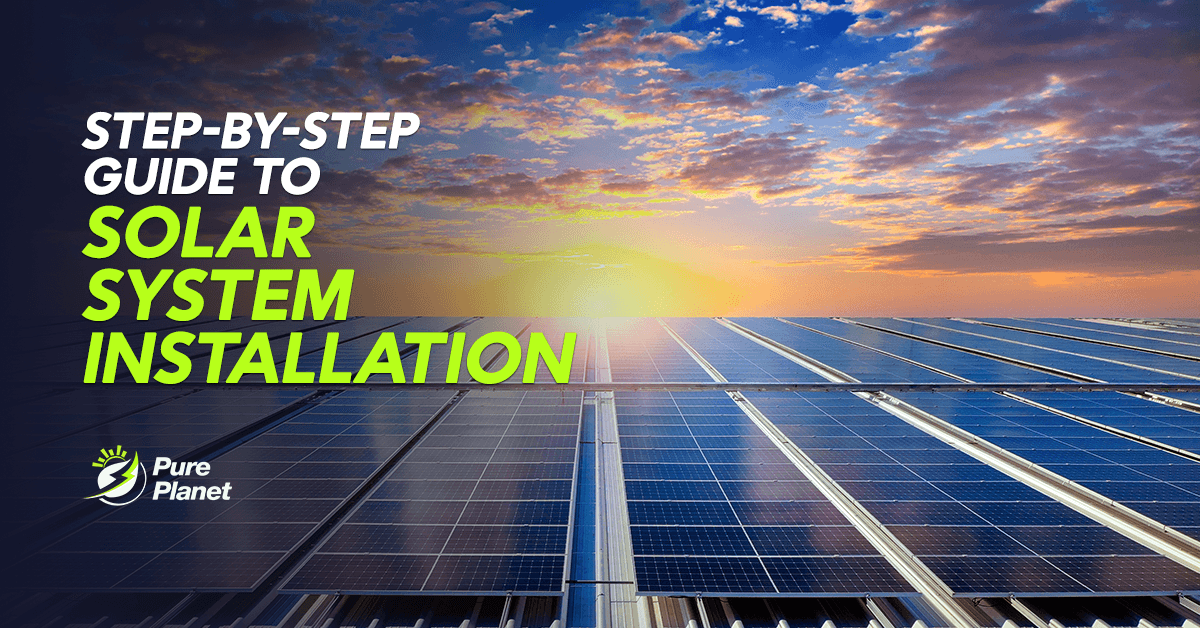
Planning to go solar? Follow our step-by-step guide to solar system installation for Melbourne homes, from initial site audit to final grid connection.
Table of Contents
- 1.Phase 1: The Initial Site Audit and Design
- 2.Phase 2: Engineering and Government Approvals
- 3.Phase 3: Installing the Mounting System
- 4.Phase 4: Panel Attachment and Cabling
- 5.Phase 5: Inverter and Battery Integration
- 6.Phase 6: Testing and Safety Certification
- 7.Phase 7: Grid Connection and Commissioning
- 8.Conclusion
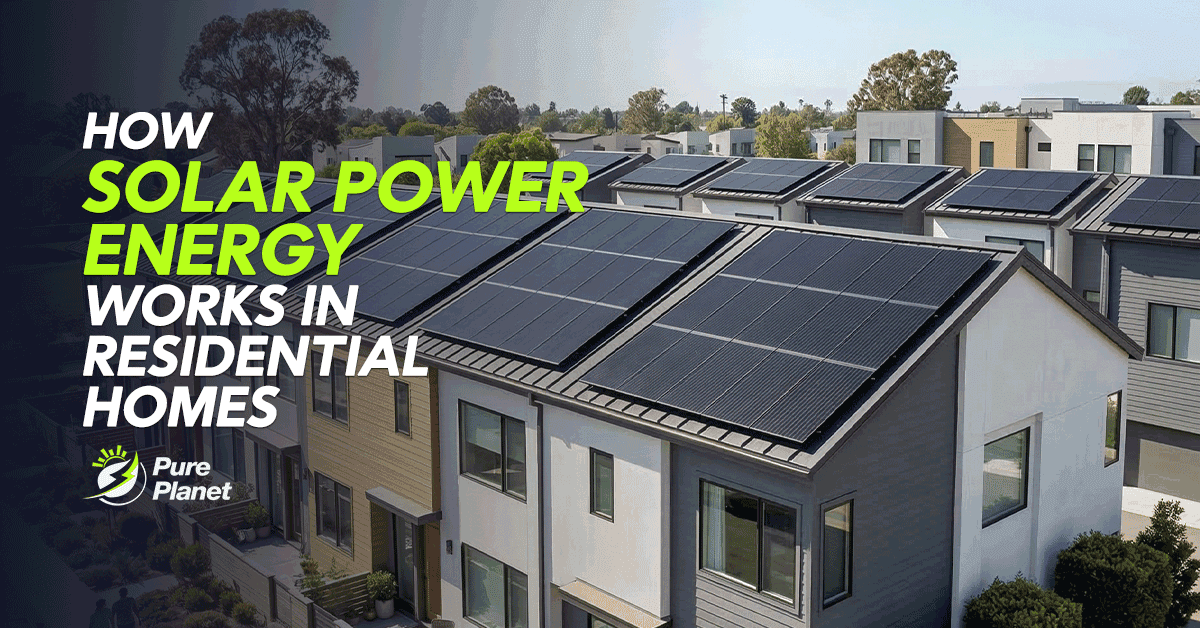
Transitioning to renewable energy is an exciting journey for any Melbourne homeowner. While the technical aspects of solar energy can seem complex, the actual installation process is a streamlined and well-regulated procedure. Knowing what to expect during each phase ensures that you can prepare your home and your schedule for a smooth transition to clean power.
At Pure Planet, we pride ourselves on transparency and technical excellence. Our goal is to move you from high energy bills to total independence through a professional, step-by-step approach that prioritises safety and system longevity.
Phase 1: The Initial Site Audit and Design
Every successful solar project begins with a comprehensive site assessment. A solar expert must visit your property to evaluate the structural integrity of your roof and identify the best orientation for panel placement. In Melbourne, North-facing roofs are typically ideal for maximum sunlight capture, though East and West configurations can also be highly effective for morning and afternoon energy users.

During this phase, we also inspect your current electrical switchboard to ensure it can handle the new solar input. If your board is outdated, a minor upgrade may be required to meet modern Victorian safety standards. Once the physical audit is complete, a custom system design is created to match your household's specific energy consumption patterns and future goals.
Phase 2: Engineering and Government Approvals
Before a single panel is fixed to your roof, several administrative steps must be completed. In Victoria, this includes applying for the Solar Homes Program rebate and obtaining a "Pre-Approval to Connect" from your Distributed Network Service Provider. This ensures that the local grid can safely accept the excess energy your system will eventually produce.
At Pure Planet, we manage this entire paperwork process on your behalf. We coordinate with the relevant authorities to secure your rebates and ensure all engineering specifications meet local council requirements. This phase is crucial because it guarantees that your installation is fully legal, insured, and financially optimised through available government incentives.
Phase 3: Installing the Mounting System
On the day of installation, the first physical step is the securement of the mounting system. This involves fixing heavy-duty rails to your roof rafters using specialised brackets. The type of mounting used depends on whether you have a corrugated iron, klip-lok, or terracotta tile roof. It is essential that these rails are perfectly aligned to ensure the panels sit flat and look aesthetically pleasing.
The mounting system is the "skeleton" of your solar array and must be able to withstand Melbourne’s occasional high winds and storms. Installers use high-quality, non-corrosive materials to prevent rust and ensure the roof remains completely watertight. Once the rails are in place, the team begins the process of running the DC cabling from the roof down to the location of the inverter.
Phase 4: Panel Attachment and Cabling
With the rails secured, the solar panels are lifted onto the roof and clamped into place. Each panel is connected to the next in a "string" configuration, or fitted with individual micro-inverters if your roof suffers from significant shading issues. This electrical connection is what allows the raw energy captured from the sun to travel down to your conversion equipment.
Proper cable management is a hallmark of a professional installation. All wiring should be tucked neatly under the panels and protected by UV-stabilised conduit to prevent degradation from the sun. This attention to detail prevents electrical faults in the future and ensures that the system maintains high efficiency for its entire 25-year warranted lifespan.
Phase 5: Inverter and Battery Integration
Once the roof work is complete, the focus shifts to the installation of the solar inverter and, if chosen, the battery storage unit. The inverter is typically mounted on an external wall near your switchboard or inside a garage. It acts as the brain of the system, converting the direct current from your roof into usable alternating current for your home.
If you are installing a solar battery, such as a NeoVolt system, it is connected at this stage. The battery allows you to store excess daytime energy for use at night, significantly increasing your energy independence. The installers will also set up a monitoring system, often via a smartphone app, so you can track your energy production and consumption in real-time.
Phase 6: Testing and Safety Certification
Before the system is turned on, a series of rigorous safety tests must be performed. The installers check the earthing of the system, the insulation resistance of the cables, and the functionality of the safety "shutdown" switches. These switches are vital because they allow emergency services or electricians to de-energise the system instantly if required.
In Victoria, a licensed electrical inspector who is independent of the installation company must review the work. They provide a Certificate of Electrical Safety, which confirms the installation meets all Australian standards. This double-check process is a mandatory safety requirement that provides homeowners with peace of mind regarding their new high-voltage equipment.
Phase 7: Grid Connection and Commissioning
The final step is the official commissioning of the system. This involves notifying your energy retailer that the solar system is active so they can update your billing to include "feed-in tariffs." Your smart meter will be reconfigured to track how much energy you export back to the grid, ensuring you receive credit for any power you don't use or store.
The installation team will walk you through the operation of the system, showing you how to read the inverter display and how to use the monitoring app. This is the moment your home officially becomes a mini-power station. From this point forward, every sunrise represents a reduction in your carbon footprint and a direct saving on your household expenses.
Conclusion
The step-by-step guide to solar system installation shows that while the process involves high-level engineering and electrical work, it is designed to be hassle-free for the homeowner. By choosing a reputable local installer, you ensure that every phase—from the first roof audit to the final grid connection—is handled with precision and care.
At Pure Planet, we are committed to making the transition to renewable energy as simple as possible for Melbourne families. Our expert teams manage the design, the rebates, and the technical installation so you can focus on the benefits of lower bills and a sustainable future. If you are ready to start your journey to energy independence, contact us today for a professional consultation.